

Apparently, I have more to say about the Edible Sukkah. The big thing is that most folks skip the first and crucial step: to “glue” (with frosting, Nutella, whatever) a floor cracker to the plate. This anchors the whole structure, it gives the walls something to stick to, and it significantly reduces the frustration factor for little kids. Building a sukkah should be a treat, not a trial.
Below are step-by-step photos of a typical graham-cracker sukkah. For exhaustive dithering about materials, techniques, kashrut, and whatnot, see my earlier posts:
•Instant Edible Sukkah: Easy Tips for the Disorganized or Spontaneous
•Make a Kosher Edible Sukkah for the Obsessively Organized (good for group activities in a kosher facility/home and on the actual holiday)
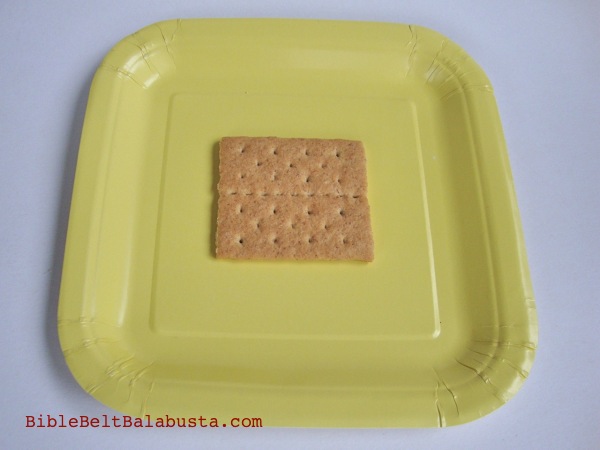
The floor
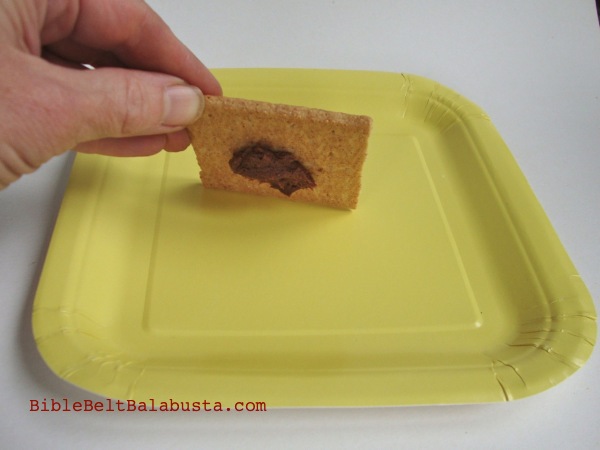
Stick cracker to the plate with a blob of edible glue

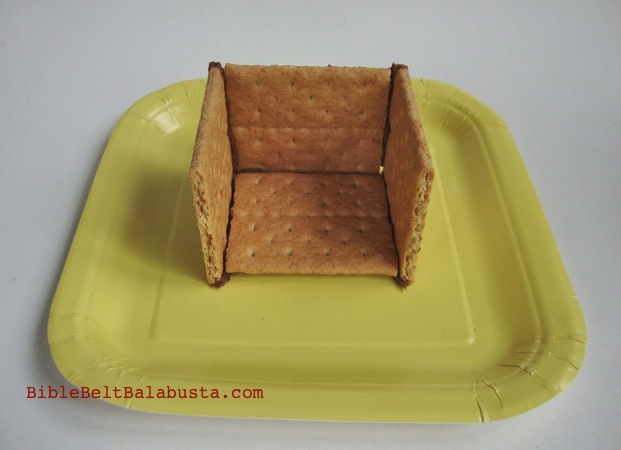
“Glue” walls to edges of floor and each other
use a pretzel stick as frosting knife, by the way…
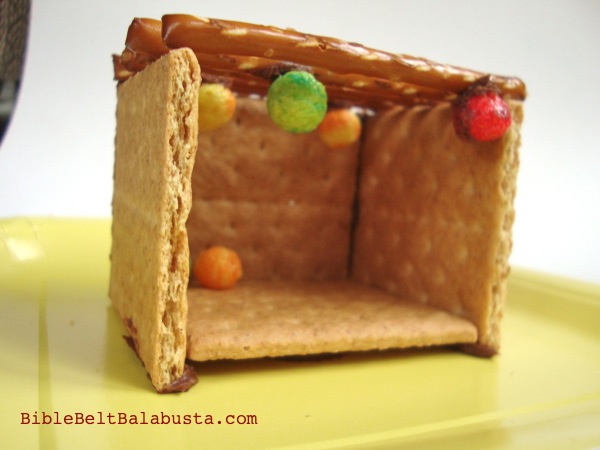
Add pretzel stick roof. “Glue” Trix cereal “fruit” on the bottom of sticks.
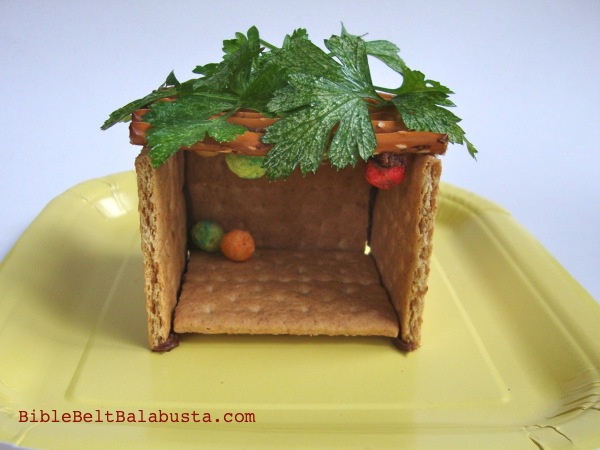
Add parsley “schach.”
knock yourself out with a Twizzler pull ‘n’ peel basket filled with kosher fruit-shaped candies


If I didn’t live on the other side of the planet, I’d be dropping really big hints about how much I want to get invited to your place for Sukkot. 😉
Pingback: Good Enough to Eat (In!)